Introduction
Using smartphones for communication is second nature for most of us. Ensuring that our messages are clear and error-free is essential. One powerful tool to achieve this is spell check. This feature automatically corrects spelling errors as you type, saving you from potentially embarrassing mistakes.
In this guide, we’ll walk you through the step-by-step process of enabling spell check on both Android phones and iPhones. We’ll then explore customizing these settings to suit your needs and troubleshoot common issues. By utilizing these tips, you can greatly enhance the clarity and professionalism of your mobile communication.
Enabling Spell Check on Android Phones
Enabling spell check on Android phones is a straightforward process that can be accomplished in just a few steps.
Accessing the Settings Menu
First, unlock your phone and head to the home screen. Locate the ‘Settings’ icon, usually represented by a gear symbol, and tap on it. This will open up the main settings menu where you can adjust various aspects of your device.
Navigating to Language and Input
Once in the settings menu, scroll down until you find the ‘System’ section. Depending on your specific Android version, this menu might be labeled slightly differently. Next, select ‘Language and Input’ or ‘Languages and Input.’ This section controls the language options for your device and your keyboard settings.
Turning on Spell Check Feature
Within the ‘Language and Input’ section, look for an option labeled ‘Spell Checker’ or ‘Text Correction.’ Tap on it to access the spell check settings. You should see a toggle switch or checkbox that allows you to enable the spell check feature. Turn it on, and ensure that your preferred languages are selected. This enables the feature across all apps that support text input.

Setting Up Spell Check on iPhones
Apple users can also benefit from spell check by following a few simple steps.
Opening the Settings App
Start by locating the ‘Settings’ icon on your iPhone’s home screen. Tap on it to access the various options available for adjusting your device’s settings.
Accessing General Management
Within the settings menu, scroll down to find the ‘General’ option. Tap on it to access the general management settings of your device. Under the General section, look for the ‘Keyboard’ option and select it. Here, you can customize various keyboard settings.
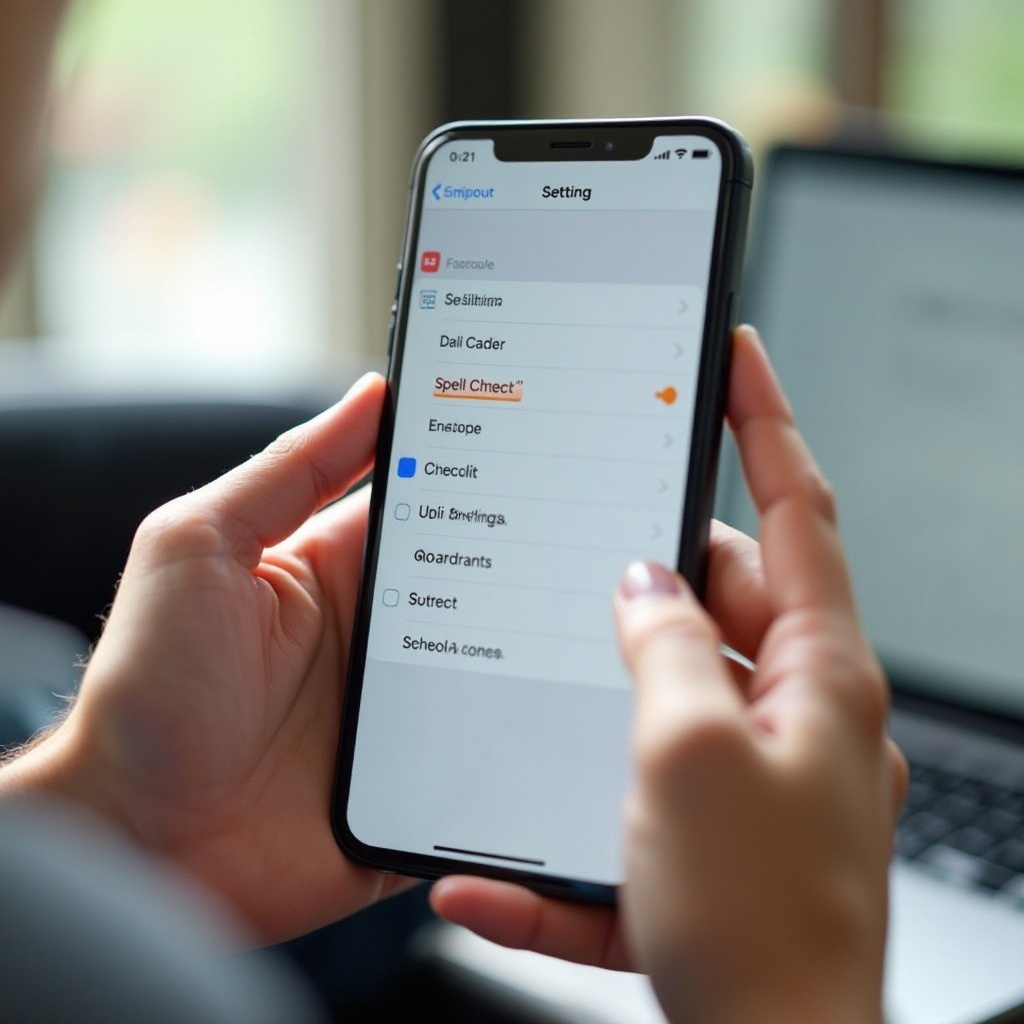
Activating Spell Check
In the Keyboard settings, scroll until you see ‘Check Spelling.’ This option should be toggled off by default. To enable spell check, simply toggle the switch to the ‘On’ position. You can also enable ‘Auto-Correction’ within the same menu if you want real-time corrections as you type.
Customizing Spell Check Features
Once spell check is enabled, personalizing your settings can significantly enhance its efficacy.
Personalizing Your Dictionary
Both Android and iPhone allow you to add words to a personal dictionary. This is useful for custom spellings, jargon, or names that the spell checker might flag as incorrect. On Android, this can be done through the ‘Personal Dictionary’ option within the keyboard settings. On iPhone, you can add words by following the steps outlined in the ‘Text Replacement’ settings.
Adjusting Auto-Correction Settings
While auto-correction can be incredibly helpful, it can sometimes be overzealous. Adjusting these settings can provide a balance. For instance, you can customize how aggressive the auto-correction should be or disable it in certain apps where you need more control over your text.
Troubleshooting Common Spell Check Issues
Even with advanced technology, issues might arise with spell check, but they are usually easy to fix.
Spell Check Not Working: What to Do
Sometimes, the spell check feature may not work correctly. Ensure that the spell check and auto-correction toggles are turned on. Also, verify that your keyboard supports spell check and is updated to the latest version.
Resetting Spell Check Settings
If you’re still having issues, resetting the spell check settings can often resolve them. On Android, you can do this by going to ‘Settings,’ ‘Language & Input,’ then ‘Reset.’ On iPhone, head to ‘Settings,’ ‘General,’ ‘Reset,’ and then select ‘Reset Keyboard Dictionary.
Utilizing Third-Party Spell Check Apps
Enhancing spell check functionality can also be achieved through third-party apps. Here are a few recommendations:
Best Apps to Enhance Your Spell Check Experience
Several apps can improve your spell check experience, making your typing even more accurate and efficient.
Grammarly
Grammarly is a popular option that goes beyond spell checking to offer grammar and punctuation corrections. It integrates with your keyboard, making it easy to use across different apps.
Gboard
Google’s Gboard is another powerful tool. It features built-in spell check, as well as other useful functionalities like glide typing and voice typing.
SwiftKey
SwiftKey offers customizable keyboards and robust spell checking options. It also learns your typing habits, making it more accurate over time.
Conclusion
Implementing spell check on your smartphone is an easy yet effective way to ensure your texts are free of spelling errors. Whether you’re using an Android or iPhone, following the steps outlined in this guide will help you enable and customize spell check. Furthermore, troubleshooting common issues and utilizing third-party apps can enhance your texting accuracy significantly.
Frequently Asked Questions
How do I turn off spell check on my phone?
To turn off spell check, go to the settings menu of your device. For Android, navigate to ‘Language and Input’ and disable the spell checker. On iPhone, go to ‘Settings,’ ‘General,’ ‘Keyboard,’ and toggle off ‘Check Spelling.’
Can I use multiple languages with spell check?
Yes, most devices allow you to use spell check in multiple languages. You can select your preferred languages in the spell check settings of your device.
Why is my spell check not catching errors?
If your spell check isn’t working, ensure that it is enabled in the settings. Also, make sure your device’s software is up-to-date. Resetting your spell check settings can also resolve this issue.