Introduction
Connecting two Mackie powered speakers to a Mackie subwoofer can significantly enhance your audio setup, ensuring richer, deep sound for any event. This guide is designed to help you understand your equipment and prepare the necessary tools for a seamless connection process. By following the steps outlined, you can optimize your sound system for both small and large-scale events. Let’s dive into the world of Mackie products and get your sound system up and running!
Understanding Your Equipment
Overview of Mackie Powered Speakers
Mackie powered speakers are renowned for their superior sound quality, versatility, and durability. These speakers come with built-in amplifiers, which eliminate the need for external amps, making them easier to set up and transport. Whether you’re using models like the Thump or SRM series, Mackie powered speakers are designed to deliver clear highs and deep lows, suitable for both live performances and DJ setups.
Overview of Mackie Subwoofer
A Mackie subwoofer is essential for reproducing low-frequency sounds like bass and kick drums. The MACKIE subwoofers, such as the Thump18S or DRM18S, are built to deliver powerful, punchy bass that complements the sound from your main speakers. These subwoofers are equipped with various inputs and outputs, making them versatile for different setups.
Understanding your Mackie speakers and subwoofer is crucial before starting the connection process. It ensures that you use the right equipment and settings to achieve optimal sound quality.
Preparation and Required Tools
Essential Cables and Adapters
To connect your Mackie speakers and subwoofer, you will need the following:
- XLR cables: For balanced audio signal transmission.
- 1/4-inch TRS cables: If XLR is unavailable.
- Power cables: For powering your speakers and subwoofer.
- Adapters: Depending on your specific equipment, you might need TRS to XLR adapters.
Having these cables and adapters on hand ensures that you can smoothly connect your system without interruptions.
Setting Up Your Workspace
Before beginning the connection process:
- Choose a spacious area for your setup to avoid clutter.
- Ensure that outlets are nearby for powering your equipment.
- Position your equipment on stable surfaces to prevent accidents.
A well-organized workspace can make the setup process quicker and more efficient.
Step-by-Step Connection Guide
Positioning Your Equipment
Proper positioning plays a crucial role in sound performance:
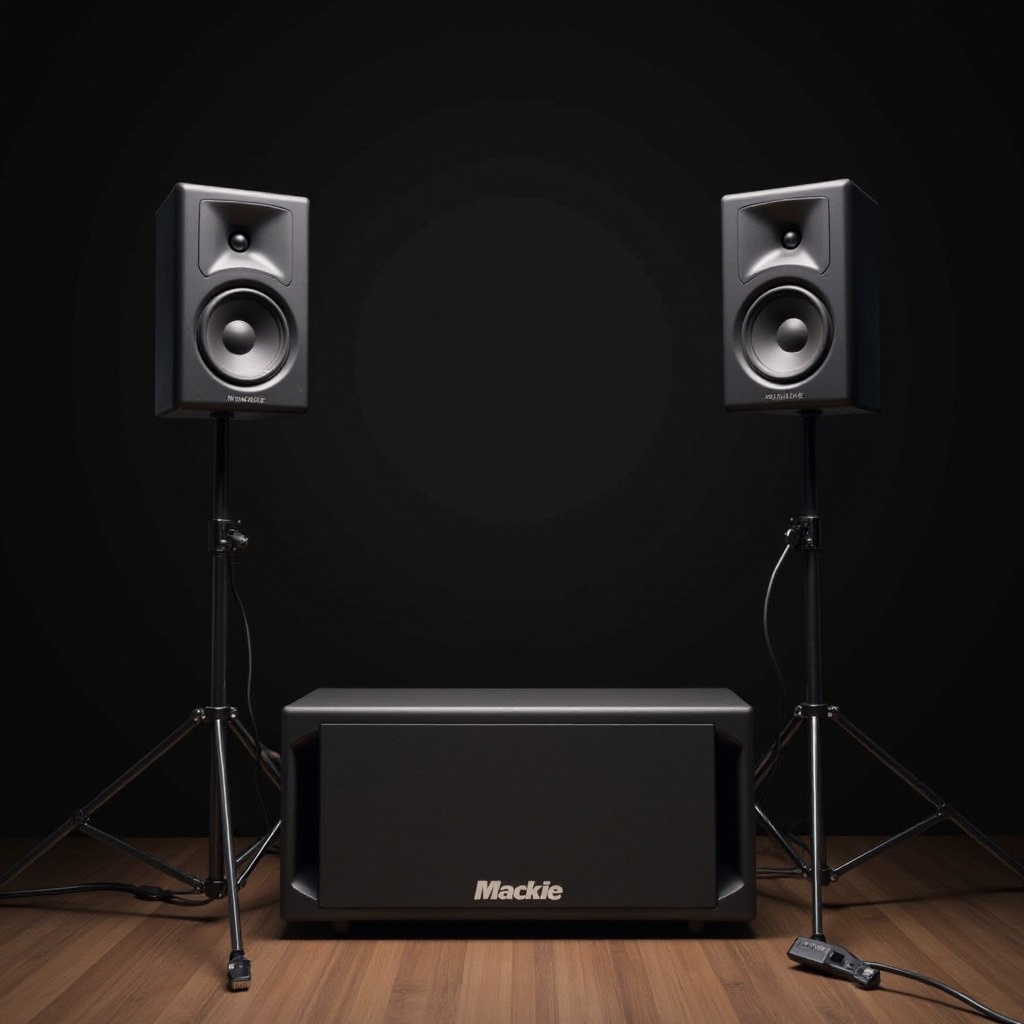
- Place the Mackie subwoofer at the center or slightly off-center of your setup. This placement helps evenly distribute low frequencies.
- Position the powered speakers on either side of the subwoofer, ensuring they are elevated on stands.
Connecting the First Speaker
Follow these steps to connect your first speaker:
- Connect one end of an XLR cable to the Main Out or Thru output on the subwoofer.
- Plug the other end into the input of your first powered speaker.
- Ensure that the power cable is securely connected to the speaker and a power source.
Adding the Second Speaker
Next, connect your second speaker:
- Use another XLR cable to connect the Thru output of the first speaker to the input of the second speaker.
- Secure the power connection for the second speaker.
Integrating the Subwoofer
Integrating the subwoofer is straightforward:
- Connect the audio source (mixer, DJ controller) to the input section of the subwoofer using XLR or TRS cables.
- Adjust the crossover frequency on the subwoofer to match the frequency response of your speakers.
Proper connection and integration ensure your system delivers balanced sound across all frequencies.

Audio Calibration and Testing
Balancing Volume Levels
Achieve the perfect balance:
- Set the volume levels on the subwoofer and speakers to a low starting point.
- Gradually increase the volumes, adjusting each component to ensure no one part overpowers the others.
Fine-Tuning Equalizer Settings
Enhance your sound quality:
- Use the equalizer on your mixer to adjust the bass, midrange, and treble frequencies.
- Make subtle adjustments while playing a track that covers a wide range of frequencies.
Performing Sound Checks
Finalize your setup:
- Play several tracks to test your system.
- Walk around the area to ensure the sound is evenly distributed.
- Make any necessary adjustments to the positioning and settings based on your observations.

Advanced Setup Tips
Utilizing DSP Features
Many modern Mackie models come with Digital Signal Processing (DSP) features. Take advantage of these:
- Use built-in presets for different environments and applications.
- Enable feedback suppression if performing live.
Expanding Your Sound System
For larger setups:
- Consider adding more speakers or subwoofers.
- Ensure each additional speaker is daisy-chained properly from your main speakers.
Expansion should be done thoughtfully to maintain audio quality.
Conclusion
Connecting two Mackie powered speakers to a Mackie subwoofer enhances your overall audio experience, providing rich, professional sound. By following this detailed guide, you can ensure a seamless setup process. Whether for live performances or DJ events, optimizing your Mackie equipment will undoubtedly elevate your sound system.
Frequently Asked Questions
What cables do I need to connect Mackie speakers and subwoofer?
You will need XLR cables for balanced audio transmission, 1/4-inch TRS cables as alternatives, and power cables for each speaker and subwoofer.
How do I eliminate feedback or distortion?
Ensure proper speaker placement, utilize DSP features like feedback suppression, and carefully balance the volume levels to avoid overloading any component.
Can I connect more than two speakers to the subwoofer?
Yes, you can daisy-chain additional speakers from the outputs of your existing powered speakers to expand your sound system as needed.